
Loop Dungeon Incremental Bosses Guide: Dragon, Demon, Necromancer, and Boss Prep
✓ Last verified 2026-10-20 · How we check facts
Quick answer
Dragon is the first major boss in early runs, Demon waits deeper in, and the Necromancer brings a shield you must break before its health bar moves.
Loop Dungeon Incremental bosses are the checkpoints that turn a loot loop into a campaign. Each run pushes the party deeper until a named fight stops it, sends you back to the skill tree, and dares you to return stronger. Since launch on October 19, 2026, the fights players show most on camera are Dragon, Demon, and the shielded Necromancer, and each one punishes a different kind of unpreparedness: Dragon tests your baseline upgrades, Demon tests timed defense, and the Necromancer tests sustained damage. This guide maps the Loop Dungeon Incremental bosses gameplay has shown so far, links the full page for each one, and collects the preparation habits that carry across all of them.
The Loop Dungeon Incremental Bosses Roster So Far
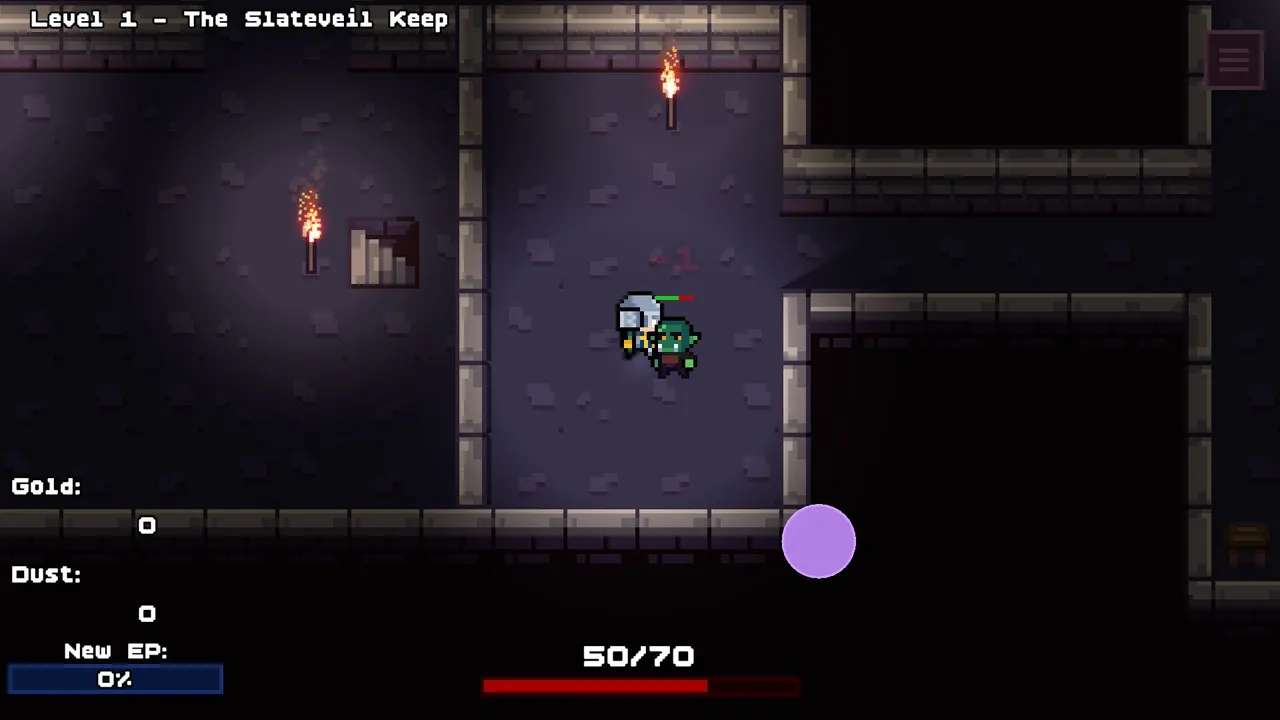
The developer's release announcement confirmed that the full version shipped with more heroes, skills, bosses, and levels, without attaching a complete list to any of those categories. Footage fills in the useful part: three named fights, shown across demo, beta, and launch-day clips, each with a recognizable failure mode. Treat the roster below as the well-covered floor rather than the ceiling, because the Loop Dungeon Incremental bosses roster grows from here. A normal loop ends when waves stop dying on schedule; a Loop Dungeon Incremental bosses attempt begins the moment a named health bar enters the screen and your preparation gets examined in public. That difference in stakes is why each fight below gets its own page.
| Boss | What gameplay shows | Full guide |
|---|---|---|
| Dragon | The first major boss in multiple early runs | Dragon |
| Demon | A later boss in demo and launch-day clips | Demon |
| Necromancer | A shield below its health bar in at least one run | Necromancer |
No clip fixes a complete boss order either. Early runs place Dragon first, later footage places Demon and the Necromancer deeper in, and anything beyond that pattern is guesswork until patches or longer runs say otherwise.
| Fight | Main test | Layer that answers it |
|---|---|---|
| Dragon | Baseline preparation | Boss Defense, healing, held buffs |
| Demon | Timed defense | The Invincibility Aura window |
| Necromancer | Sustained damage | Cooldown reduction and attack speed |
Dragon, the First Major Wall
Dragon is the first of the Loop Dungeon Incremental bosses in multiple early runs, and the fight that teaches every system at once. The preparation around it repeats across clips: stack health and defense on the tree, keep Priest healing online, and hold the Warrior's buff for the fight itself instead of spending it on the way down. One demo tooltip read Vitality as +20 max HP per level, and another demo tooltip put Priest healing at 3 HP every 3 seconds — both numbers are version-labeled, but the shape of the plan transfers. Dragon attempts are also the clearest argument for Boss Defense existing as its own upgrade line: the clips show players buying it before the wall rather than after, and reporting that named hits land for less afterward. Our Dragon guide breaks the fight into a checklist you can run before each attempt.
Demon, Where Timed Defense Starts
Demon is the fight where Loop Dungeon Incremental bosses start demanding timed defense. Demo and launch-day clips show players leaning on the Priest branch's Invincibility Aura — a five-second window in demo and beta footage — plus steady healing and buffs popped as the boss engages. The failed attempts teach just as much: walking in with raw stats but no timed layer tends to end the run on the spot. That is why our Demon guide spends as much space on the aura plan as on upgrades, and why Boss Defense purchases show up in these clips before the attempt rather than after it. Launch-day footage is also the best place to study the pattern, because the version on screen matches the game you can download today.
Necromancer, the Sustained Damage Check
Later footage names a Dark Necromancer or Necromancer, and in at least one run a shield sits below its health bar, absorbing damage until it breaks before the HP underneath moves. Another narrator reads the same style of fight as a damage and timing check. Both descriptions point at the same build requirement: sustained output that keeps landing after the opening burst is spent. The Necromancer guide covers the shield reading and the damage tools footage shows working, from Meteor to Rogue critical and clone setups. One practical read from the shield run: treat the shield meter as a timer on your patience, because the moment a rotation starts coasting is usually the moment the attempt is lost.
A Preparation Checklist That Works on Any Boss
Preparation for Loop Dungeon Incremental bosses is less about one perfect stat and more about layers, because each named fight stresses a different one. In gameplay footage the same four layers appear in almost every successful attempt.
| Layer | Upgrades and skills | What it changes |
|---|---|---|
| Survival | Boss Defense, Iron Skin, Vitality | Boss hits stop deleting the front line |
| Recovery | Priest healing | The party outlasts long fights and health drain |
| Burst | Meteor, the Warrior buff, Piercing Arrow pairings | Fights end before timers or drains win |
| Reach | Movement Speed | The party arrives with health still to spend |
The footage adds two habits around the table. First, buff timing: the Warrior's attack-and-defense buff has a short window — one demo readout showed +10 attack and +10 defense, a beta clip showed five seconds — so successful players save it for the boss instead of spending it on the walk down. Second, the prestige loop: when a boss walls you, the run's answer is to reset on purpose, keep the permanent layer, and buy whichever piece the wall exposed. The on-screen confirmation states that run progress resets while prestige rewards remain, and presenters disagree about exact timing, which our prestige page covers as strategy opinion rather than a rule. In this launch-day video, a Demon attempt shows the aura-and-healing pattern end to end. For the current build and patch notes, the official Steam store page is the source of record.
Frequently Asked Questions
Q: How many Loop Dungeon Incremental bosses are there?
The developer confirmed more bosses arrived with the full release but has not published a complete roster, so no fixed count exists yet. Footage repeatedly shows Dragon, Demon, and the Necromancer, and this page's roster grows as new fights appear on camera.
Q: What order should I fight the bosses in?
Early runs place Dragon first, and later footage places Demon and the Necromancer deeper in. Beyond that, no clip fixes a complete order, so build broadly instead of tunnel-visioning on one fight's counter.
Q: Why does the Necromancer's health bar not move?
In at least one run, a shield below its health bar had to break first. Treat it as a sustained damage check rather than a bug, because the damage-and-timing reading from other footage points the same way.
Q: What should I upgrade before a boss attempt?
The four layers above: survival, recovery, burst, and reach. If you can only afford one, footage players consistently pick Boss Defense first, with healing right behind it. Re-check tooltips after each patch too, since version-labeled numbers from older clips are a starting point, not a spec sheet.
Continue exploring
Combat →
Loop Dungeon Incremental Boss Defense: Survive the Dragon and Beyond
Loop Dungeon Incremental boss defense is bought before Dragon and other boss attempts. When to invest, what pairs with it, what captions never show.
Progression →
Loop Dungeon Incremental Battle Cry Guide: Warrior Buff Timing and Upgrades
What the Loop Dungeon Incremental battle cry does, the demo and beta numbers in footage, and how presenters time the Warrior buff for bosses.
Progression →
Loop Dungeon Incremental Invincibility Aura Guide: Boss Survival Timing
What the Loop Dungeon Incremental invincibility aura does, the five-second window in demo and beta footage, and boss timing for Demon and Dragon.
Related Guides
Up next →
Loop Dungeon Incremental Demon Boss Guide: Invincibility Aura, Healing, and Timed Buffs
The Loop Dungeon Incremental demon boss sits deeper than Dragon. See how players layer Invincibility Aura, healing, and timed buffs for the attempt.
Dragon Guide
How players beat the Loop Dungeon Incremental dragon fight: health and defense upgrades, Priest healing, the Warrior buff, and timing from early runs.
Necromancer Guide
What gameplay shows about the Loop Dungeon Incremental necromancer boss: the shield under its health bar, the sustained damage it demands, and timing.